- I use the Green Stuff World rolling pins, deck plate and mesh. Roll out thin sheets w/ of Sculpey (this is my preferred medium as I can bake and harden it in 15 minutes), downside is it can chip and is white, will need touch ups in the future...I guarantee it
- Apply bits, I like the idea that my dudes are fighting on an orbital space dock on the ring of iron surrounding Mars or Voss. I try and make that theme work. So no plants, no weeds, just things you'd probably find out there, oil drums, pipes, scrap sludge, slime, fuel leaks, steam leaks, etc.
- Prime Black
- Vallejo - Metal Color Burnt Iron - highlight interesting areas
- Reaper - Harvest Brown - Lightly mist over burnt iron, you don't want full coverage, you want to give the sense that rust is taking hold.
- Reaper - Orange Brown - Intensify some areas of the Harvest brown, this will be fresh rust patches
- AK Interactive - Rust Streaks - I airbrush this over everything in a light coat (for the love of god put on a mask if you haven't already this will full on rot your lungs)
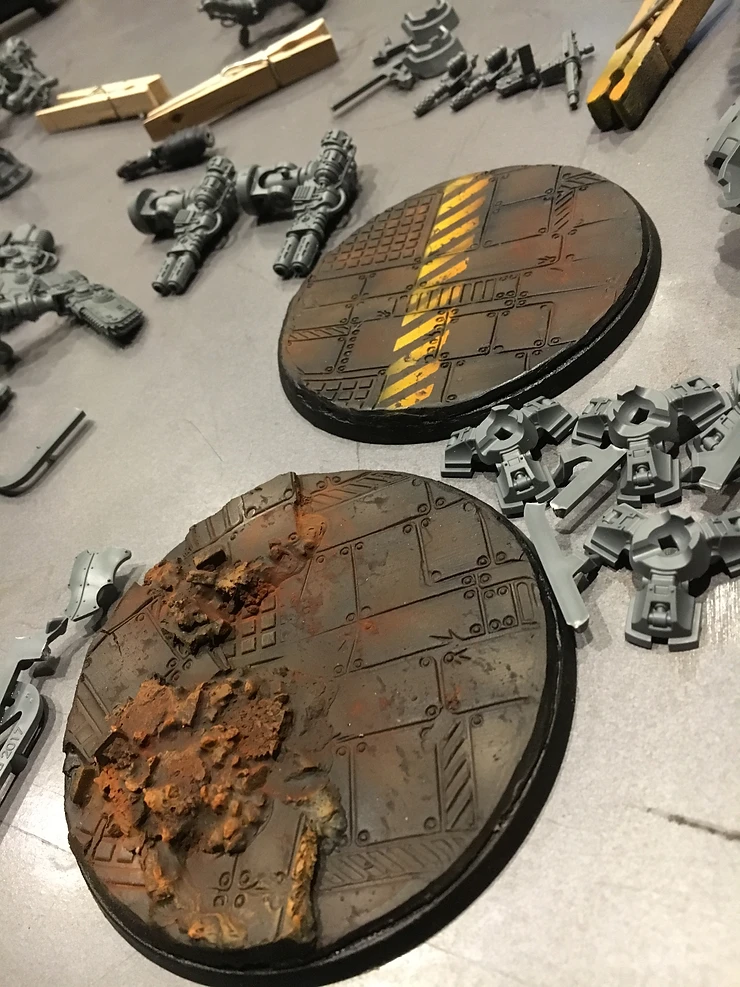
- AK Interactive - Crusted Rust - I apply the full series with a brush or an eye dropper, start with large patches of dark, then medium orange, then very small highlights of the bright yellow/orange
- Drip enamel thinner over the paint let it pool, begin tilting the base so the enamel paint runs and seeps into crevices, tilt in different ways, this will make interesting patterns in the rust
- Let everything dry thoroughly and matte cote
- If you're satisfied w/ your rust leave as is, if you want to age the rust make it more reddish, I apply a very fine mist of the rust streaks again to tie everything together I also go back with either black primer or ink and darken areas to give some contrast. I want the plate to look like its been burned and used for 10,000 years.
- I intend to make some pools of slime/promethium and put it around the pipes and things of that nature
- Mount/Pin your model to the base
- Put clear tape around the portions of the base you're going to apply epoxy to in order to create a reservoir
- Use either water effects or 2 part clear epoxy (I recommend 30 minute epoxy so you have some play time but if you're quick you could do it w/ 5 minute)
- Mix a light green or yellow into the epoxy, preferably a transparent ink or wash, opaques will work. A few drops goes a long way. Get it to where you want it prior to application.Apply this to the base using a throw away eye dropper, syringe w/o needle or a very steady hand/pour if you've put your model on already.After you've put your epoxy down, w/ an eye dropper put drips of more transparent green or yellow or whatever color your want into the epoxy and create swirls or lines moving away from breaks in the pipe, this will create some color variation. Put things like painted skeletons, barrels, clear half beads to create bubbles etc into the epoxy before it sets...or just leave it plain.
Comments
Post a Comment